Lately I’ve been learning OpenGL and game development with ThinMatrix’s OpenGL 3D Game Tutorial which is a great resource for beginners. However, this tutorial uses LWJGL 2, which is a bit outdated. For this reason, I’ll be using LWJGL 3.3.1 and Java 17 with this tutorial.
This note is where I document my journey of using LWJGL 3 with the tutorial. For the most part of the note, it will be how I modify the code to make it work with LWJGL 3. I will also include additional information that I think is useful.
In headings, I will include the tutorial episode number in the format of T1, T2, etc. This is to make it easier to find the corresponding episode.
This note covers problems I encountered or changes I made to the code in the first 10 episodes. Click here to read the second part of this note.
I’m using Maven to manage dependencies. Use this link to generate the pom.xml file.
If you are using macOS, be sure to add -XstartOnFirstThread to the VM arguments.
The first thing I noticed is that the Display class is gone in LWJGL 3. We will be using GLFW instead. GLFW is a library comes with LWJGL for creating windows and handling input. I found this guide (Internet Archive link) to be very informative.
The following is the code for creating a window. Here I adjusted the code in the guide to make it work with the tutorial, including solving the GLFW_INVALID_VALUE error: Context profiles are only defined for OpenGL version 3.2 and above error.
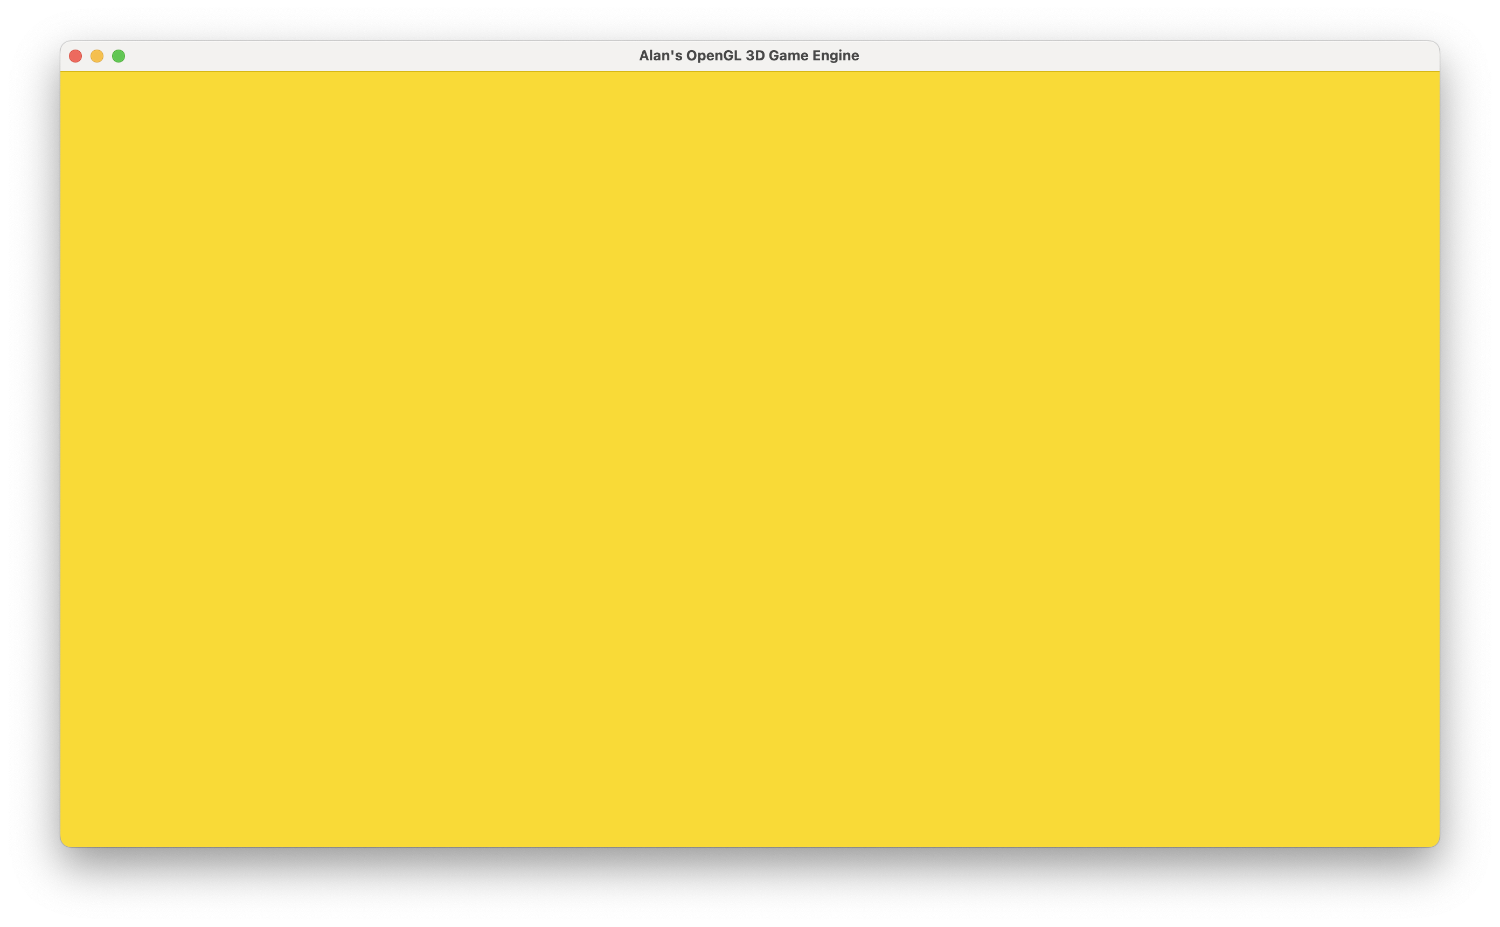
privatestaticfinalint WIDTH = 1280; privatestaticfinalint HEIGHT = 720; privatestaticfinal String TITLE = "Alan's OpenGL 3D Game Engine";
// The window handle publicstaticlong window;
publicstaticvoidcreateDisplay(){ // <- ❗️ IMPORTANT: This method is now static System.out.println("LWJGL " + Version.getVersion());
// Setup an error callback. The default implementation // will print the error message in System.err. GLFWErrorCallback.createPrint(System.err).set();
// Initialize GLFW. Most GLFW functions will not work before doing this. if (!glfwInit()) { thrownew IllegalStateException("Unable to initialize GLFW"); }
// Configure GLFW glfwDefaultWindowHints(); // optional, the current window hints are already the default glfwWindowHint(GLFW_CONTEXT_VERSION_MAJOR, 3); // <- ❗️ IMPORTANT: Set context version to 3.2 glfwWindowHint(GLFW_CONTEXT_VERSION_MINOR, 2); // <- ❗️ glfwWindowHint(GLFW_OPENGL_FORWARD_COMPAT, GL_TRUE);// <- ❗️ IMPORTANT: Set forward compatibility, or GLFW_INVALID_VALUE error will occur glfwWindowHint(GLFW_OPENGL_PROFILE, GLFW_OPENGL_CORE_PROFILE); glfwWindowHint(GLFW_VISIBLE, GLFW_FALSE); // the window will stay hidden after creation glfwWindowHint(GLFW_RESIZABLE, GLFW_TRUE); // the window will be resizable
// Create the window window = glfwCreateWindow(WIDTH, HEIGHT, TITLE, NULL, NULL); if (window == NULL) { thrownew RuntimeException("Failed to create the GLFW window"); }
// Setup a key callback. It will be called every time a key is pressed, repeated or released. glfwSetKeyCallback(window, (window, key, scancode, action, mods) -> { if (key == GLFW_KEY_ESCAPE && action == GLFW_RELEASE) { glfwSetWindowShouldClose(window, true); // We will detect this in the rendering loop } });
// Get the thread stack and push a new frame try (MemoryStack stack = stackPush()) { IntBuffer pWidth = stack.mallocInt(1); // int* IntBuffer pHeight = stack.mallocInt(1); // int*
// Get the window size passed to glfwCreateWindow glfwGetWindowSize(window, pWidth, pHeight);
// Get the resolution of the primary monitor GLFWVidMode vidmode = glfwGetVideoMode(glfwGetPrimaryMonitor());
// Center the window glfwSetWindowPos(window, (vidmode.width() - pWidth.get(0)) / 2, (vidmode.height() - pHeight.get(0)) / 2 ); } // the stack frame is popped automatically
// Make the OpenGL context current glfwMakeContextCurrent(window); // Enable v-sync glfwSwapInterval(1);
// Make the window visible glfwShowWindow(window);
// This line is critical for LWJGL's interoperation with GLFW's // OpenGL context, or any context that is managed externally. // LWJGL detects the context that is current in the current thread, // creates the GLCapabilities instance and makes the OpenGL // bindings available for use. GL.createCapabilities(); }
publicstaticvoidupdateDisplay(){ // <- ❗️ IMPORTANT: This method is now static glfwSwapBuffers(window); // swap the color buffers
// Poll for window events. The key callback above will only be // invoked during this call. glfwPollEvents(); }
publicstaticintgetWindowWidth(){ // <- ❗️ IMPORTANT: Handy method to get window width IntBuffer w = BufferUtils.createIntBuffer(1); glfwGetWindowSize(window, w, null); return w.get(0); }
publicstaticintgetWindowHeight(){ // <- ❗️ IMPORTANT: Handy method to get window height IntBuffer h = BufferUtils.createIntBuffer(1); glfwGetWindowSize(window, null, h); return h.get(0); }
publicstaticvoidcloseDisplay(){ // <- ❗️ IMPORTANT: This method is now static // Free the window callbacks and destroy the window glfwFreeCallbacks(window); glfwDestroyWindow(window);
// Terminate GLFW and free the error callback glfwTerminate(); glfwSetErrorCallback(null).free(); } }
And the while-loop part of the MainGameLoop class is now:
MainGameLoop.java
// ...
while (!glfwWindowShouldClose(DisplayManager.window)) { // <- ❗️ IMPORTANT: Use this instead of `while (!Display.isCloseRequested())`
    DisplayManager.updateDisplay();
}
// ...
If you run the program on Windows, you should see a window with a rectangle box in the middle of the screen. But if you run it on macOS or linux distro, only the background is visible. The rectangle is there, but it’s invisible. This is because we haven’t added any shaders yet.
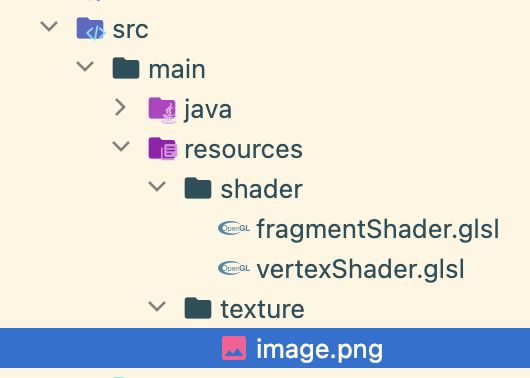
In the tutorial, Slick-util is used to load textures. But Slick-util is not working with LWJGL 3. Here we implement nikunj arora’s Texture class (which he/she posted in the comments of the tutorial) to load textures.
int[] data = newint[width * height]; for (int i = 0; i < width * height; i++) { int a = (pixels[i] & 0xff000000) >> 24; int r = (pixels[i] & 0xff0000) >> 16; int g = (pixels[i] & 0xff00) >> 8; int b = (pixels[i] & 0xff);
data[i] = a << 24 | b << 16 | g << 8 | r; }
int result = glGenTextures(); glBindTexture(GL_TEXTURE_2D, result); glTexParameteri(GL_TEXTURE_2D, GL_TEXTURE_MIN_FILTER, GL_NEAREST); glTexParameteri(GL_TEXTURE_2D, GL_TEXTURE_MAG_FILTER, GL_NEAREST);
In the tutorial, the Vector3f class is used to represent a 3D vector. But LWJGL 3 doesn’t have this class. Here we need JOML (Java OpenGL Math Library) to represent vectors and matrices and to do matrix operations.
Add JOML to the project (Maven example. If you use Gradle, you need to find the equivalent configuration):
Once JOML is added, we can use it to represent vectors and matrices in a way similar to the tutorial.
The loadMatrix method in the ShaderProgram class should then be:
ShaderProgram.java
protectedvoidloadMatrix(int location, Matrix4f matrix){ matrix.get(matrixBuffer); // <- ❗️ Equivalent to `matrix.store(matrixBuffer)` in LWJGL 2 // matrixBuffer.flip(); // <- ❗️ IMPORTANT: This line is not needed in JOML! GL20.glUniformMatrix4fv(location, false, matrixBuffer); }
It is important to note that the matrixBuffer.flip()should NOT be called here, or java.lang.IndexOutOfBoundsException will be thrown.
And the Maths class is now (I changed the package name from toolbox to util because it’s closer to what I usually do):
Maths.java
package util; // Change back to "toolbox" if you need
We can use JOML’s perspective() method of Matrix4f class to create a perspective matrix. So the createProjectionMatrix() method in the Renderer class can be simplified to:
We are using GLFW to handle keyboard input instead of LWJGL 2’s Keyboard class.
In the tutorial’s comment section, 0ShinigamiDN0 provided a Keyboard class which logs key states. We can use it to check if a key is pressed or not. Note I have made some changes to the original class:
@Override publicvoidinvoke(long window, int key, int scancode, int action, int mods){ if (key < 0) { // <- ❗️ IMPORTANT: This line is added to prevent `ArrayIndexOutOfBoundsException` in some cases. return; } keys[key] = action != GLFW_RELEASE; }
Different from 0ShinigamiDN0’s usage, I prefer not using Keyboard keyboard = new Keyboard(); in the Camera‘s constructor. Instead, I set keyboard callback in the DisplayManager class: