I recently added a custom comment section to my blog instead of using a third-party service like Disqus. I wanted to have more control over the styling and functionality of the comments, so I built my own commenting plugin in-house.
Why I Built My Own Plugin
- Ad-free: After creating an account with Disqus, I found that ads couldn’t be disabled for free plans. I don’t want to have ads on my blog, so I decided to build my own plugin immediately.
- Data and privacy concerns: Third-party services is a great way to get started with a new feature as they provide a lot of functionality out of the box. However, when using a third-party comment service, my readers’ data, emails, IP addresses, and other information gets sent to that company’s servers.
- Customization: I wanted to have more control over the styling and functionality of the comments.
- The joy of building: As a developer and blogger, I simply enjoyed the process of building my own custom plugin. There is satisfaction in creating a piece of software tailored specifically for your own needs.
The Plugin
Backend (PHP + MySQL)
The backend API handles all the logic for managing and storing comments. It exposes two endpoints:
GET /comments- Returns all comments for a given post.POST /comments- Creates a new comment.
It also features:
- reCAPTCHA spam prevention
- Basic anti-spam filtering
- Email notifications when I receive a new comment / commenters being mentioned
- The ability to mention other commenters using
@username
Frontend (JavaScript + HTML + CSS)
I am using Hexo, a static site generator, for my blog.
Since a static site generator can’t dynamically generate content, I wrote a JavaScript script that fetches the comments from the backend API and renders them on the page.
The frontend also supports basic Markdown rendering like bold, italic, images, inline code, code block, and link insertion. “Remember me” functionality is also supported (using Cookies).
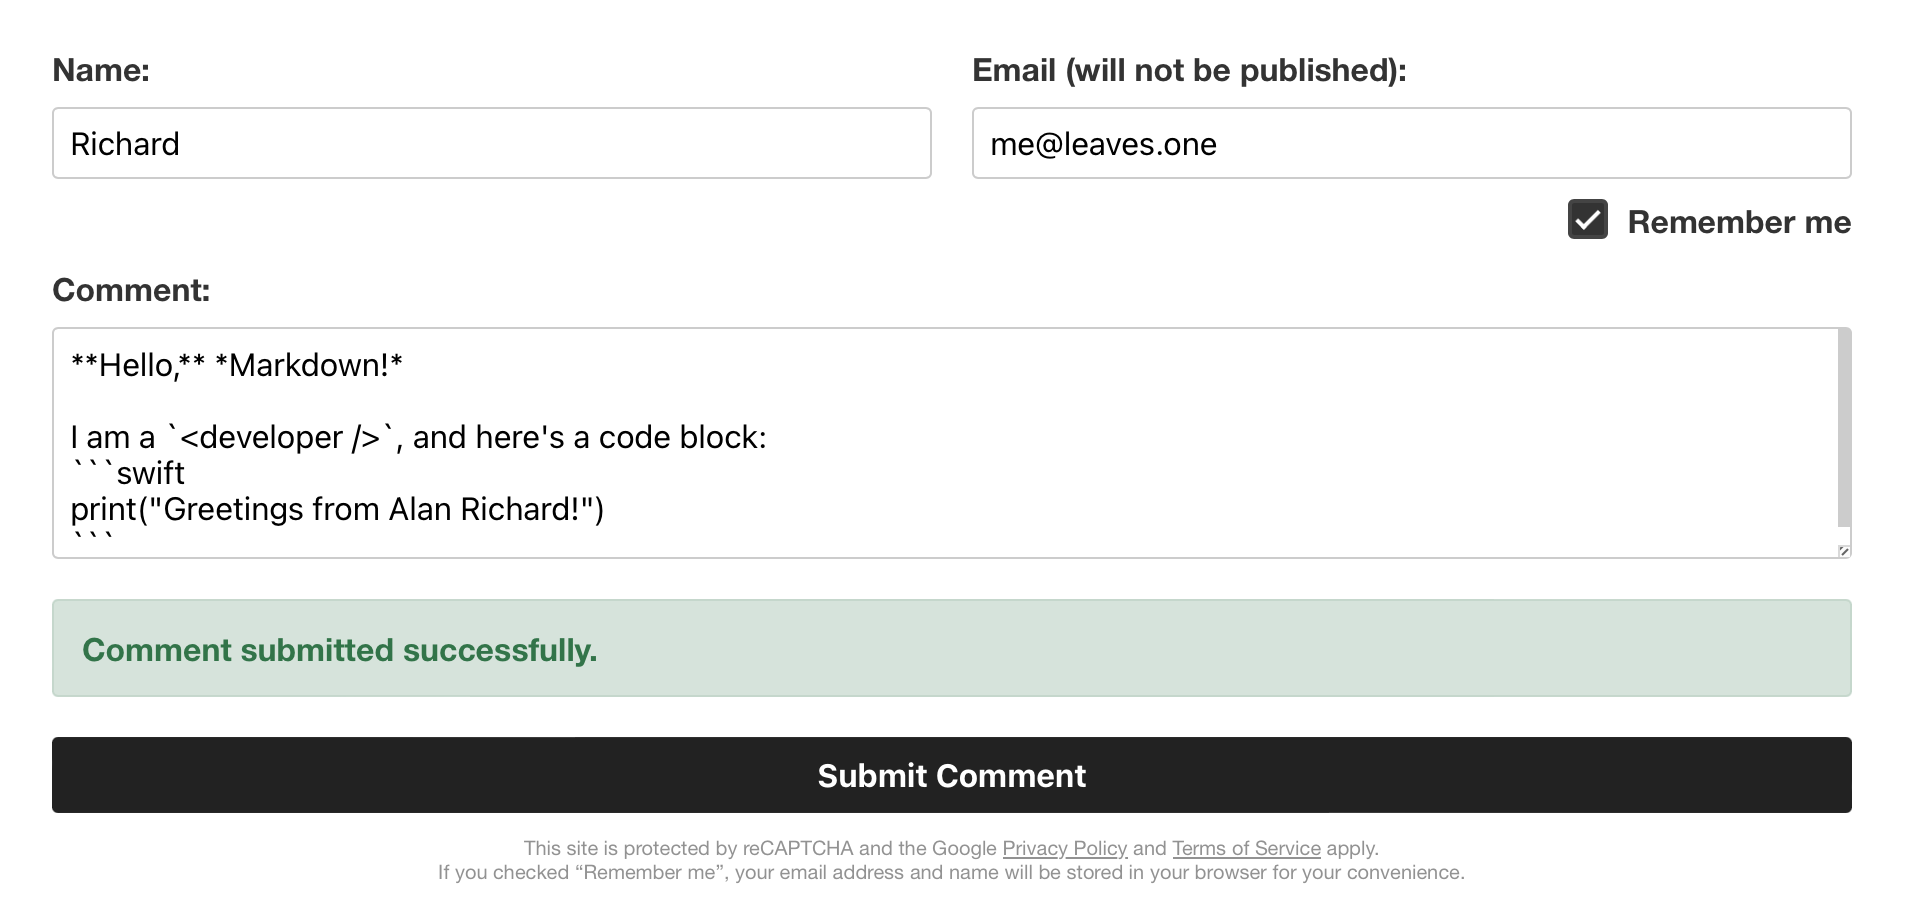
^ Composing a comment
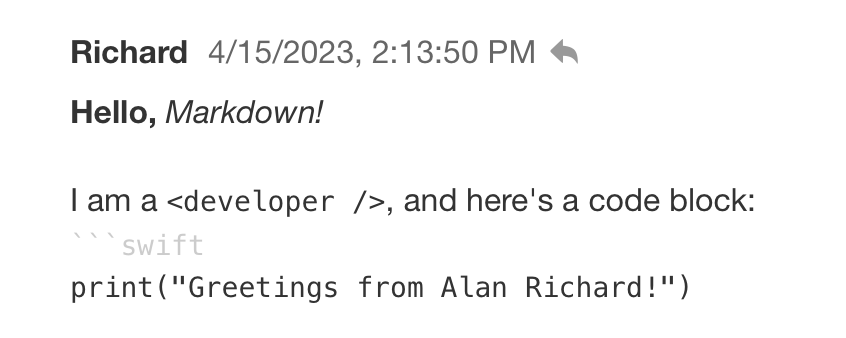
^ Markdown rendering
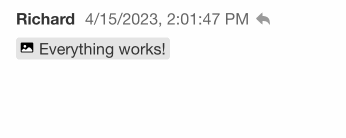
Loading images immediately within comments is not a good idea, so I added a “Click to load” button for images that only displays the alt text at first.
Adding click-to-load functionality for images also alleviates some visitor privacy concerns. By not loading images automatically, readers have more choice over what third-party content they view on my blog’s comment section. Their IP addresses and personal information are not pinged by image hosts until they choose to engage with that content.
Links can be harmful, so the same click-to-load functionality is also applied to links. The link text is displayed at first, and the actual link is only revealed when the user clicks on it.

Conclusion
By building my own custom solution, I had complete control over the features and functionality in both the backend and frontend comment sections, and I enjoyed the process of adding new features to it.
My readers now have an interactive place to leave their thoughts that is tailored specifically for my blog.